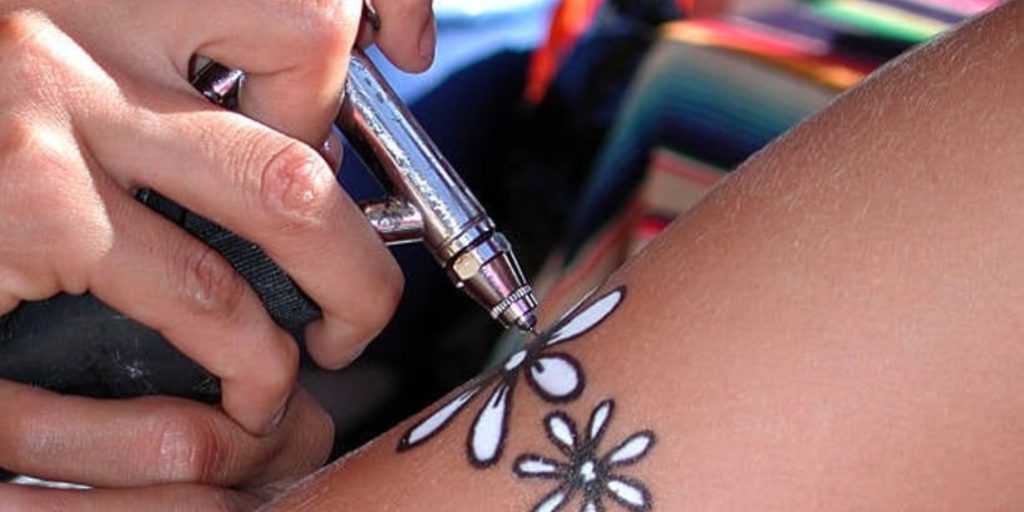
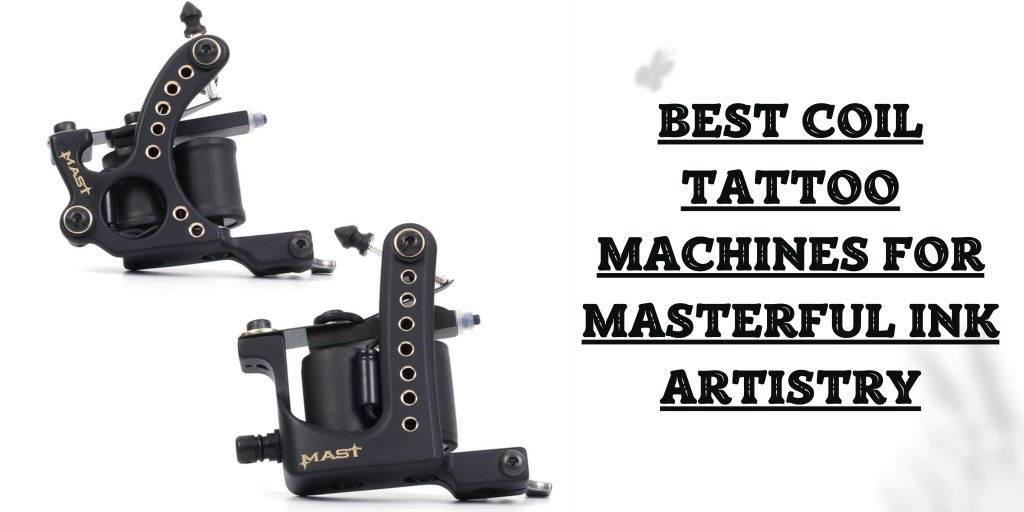
Tattoos are a form of self-expression that has become increasingly popular over the years. While getting a tattoo involves creativity and skill, it’s essential to prioritize safety during the process. One crucial aspect of tattoo safety is sterilizing the needles to prevent infections and ensure a clean and safe tattooing experience. In this article, we’ll guide you through the process of how to sterilize tattoo needles at home, even without an autoclave.
Understanding the Importance of Sterilization
Before we delve into the methods of sterilization, let’s understand why sterilizing tattoo needles is so important. Sterilization is the process of eliminating all forms of microbial life from an object, ensuring it’s free from harmful bacteria, viruses, and other contaminants. When it comes to tattoo needles, using unsterilized needles can lead to serious health risks, including infections and diseases like hepatitis and HIV.
The Risks of Using Unsterilized Tattoo Needles
Using unsterilized tattoo needles is a gamble you shouldn’t take. These risks include:

- Infections: Unsterilized needles can introduce harmful bacteria into the skin, leading to painful and potentially severe infections.
- Diseases: Bloodborne diseases like hepatitis B, hepatitis C, and HIV can be transmitted through contaminated needles.
- Allergic Reactions: Residual ink, dirt, or other contaminants on needles can trigger allergic reactions, causing discomfort and affecting the tattoo’s appearance.
Methods of Sterilizing Tattoo Needles at Home
Boiling Method
Boiling is a straightforward and effective method to sterilize tattoo needles at home. Follow these steps:
- Clean the Needles: Thoroughly clean the needles to remove any ink, blood, or debris.
- Boil Water: Bring a pot of water to a rolling boil.
- Submerge Needles: Place the clean needles into the boiling water and let them boil for at least 30 minutes.
- Allow to Cool: Carefully remove the needles from the water using sterilized tongs and allow them to cool before use.
Dry Heat Method
Dry heat sterilization is another effective option. Here’s how to do it:
- Clean the Needles: Clean the needles thoroughly to remove contaminants.
- Preheat Oven: Preheat your oven to 320°F (160°C).
- Place Needles: Place the clean needles on a clean baking tray, ensuring they are spaced out.
- Bake Needles: Bake the needles in the oven for about 1 to 2 hours.
- Cool Down: Allow the needles to cool down before using them.
Chemical Sterilization
Chemical sterilization involves using disinfectants or chemical solutions to kill pathogens. Here’s how to do it:
- Clean the Needles: Clean the needles thoroughly as before.
- Choose a Disinfectant: Select a suitable chemical disinfectant, such as hydrogen peroxide or rubbing alcohol.
- Submerge Needles: Submerge the needles in the disinfectant solution for the recommended time (usually 30 minutes to an hour).
- Rinse and Dry: Rinse the needles with sterile water and allow them to air dry.
How to Sterilize Tattoo Needles Without an Autoclave
While autoclaves are commonly used for professional sterilization, there are alternative methods you can use at home. The boiling, dry heat, and chemical methods mentioned earlier are effective ways to sterilize tattoo needles without an autoclave.
Conclusion
Properly sterilizing tattoo needles at home is an essential step to ensure your safety and the safety of your clients if you’re a tattoo artist. While autoclaves are the gold standard for professional sterilization, the boiling, dry heat, and chemical methods outlined in this article offer viable alternatives. Prioritize safety, follow the recommended guidelines, and enjoy a worry-free tattooing experience. Remember, a well-sterilized needle is the first step towards a beautiful and safe tattoo.

