Tattoo ink is the artistic medium that brings body art to life, injecting vivid hues and captivating designs beneath the skin’s surface. However, the allure of creating homemade tattoo ink holds its own appeal. By crafting ink yourself, you unlock a realm of artistic expression, custom colours, and experimental concoctions. But before diving into this captivating endeavour, it is crucial to understand the advantages of homemade tattoo ink, as well as the paramount importance of adhering to stringent safety precautions. So, let’s embark on a journey of discovery into the realm of how to make homemade coloured tattoo ink.
Understanding the Basics of Tattoo Ink
Composition of professional tattoo ink
Tattoo ink is an art form in itself, composed of a delicate balance of pigments and carriers. Professional tattoo ink consists of a meticulous blend of organic and inorganic pigments suspended in a carrier solution. These pigments are carefully selected for their vibrancy, lightfastness, and biocompatibility. Common pigments include iron oxides, carbon black, and titanium dioxide. The carrier solution, usually a mixture of distilled water, alcohol, and glycerin, helps evenly distribute the pigments and ensures smooth application onto the skin.
Differences between professional and homemade ink
While professional tattoo ink is manufactured with precision and adheres to strict safety standards, homemade ink presents a unique set of considerations. Homemade ink often relies on unconventional ingredients and lacks the sterile environment of a professional tattoo studio. The pigments used may be derived from natural sources, such as plants or minerals, which can introduce variability in colour and quality. Additionally, the carrier solution may vary, and its compatibility with the pigments can affect the final outcome. It is important to understand that homemade ink may not meet the same level of quality and safety as professional ink.

Importance of safety and sterility
When it comes to tattooing, safety and sterility should never be compromised. Professional tattoo ink undergoes rigorous testing to ensure it is free from harmful contaminants and meets strict health regulations. Homemade ink, on the other hand, lacks these quality control measures. Sterility is crucial to prevent the introduction of bacteria or other pathogens into the skin. Any materials used in the creation of homemade ink, including utensils and containers, should be properly cleaned and sterilized. It is essential to prioritize hygiene, including wearing gloves and maintaining a clean working environment, to minimize the risk of infection or adverse reactions
Choosing Ingredients for Homemade Tattoo Ink
Overview of common ingredients used in homemade ink
When venturing into the realm of creating homemade coloured tattoo ink, it’s important to explore the diverse range of ingredients at your disposal. Natural sources, such as plants, minerals, and even insects, offer a spectrum of colours that can be harnessed for your ink creations. Common ingredients include charcoal, beetroot, turmeric, aloe vera, cacao powder, and paprika. Each ingredient brings its own unique properties and colour variations to the ink palette.
Safety considerations when selecting ingredients
While the allure of using natural ingredients for homemade tattoo ink is enticing, it is crucial to prioritize safety when choosing your ingredients. Some natural substances may cause allergic reactions or skin irritations in certain individuals. It is recommended to conduct patch tests before using any new ingredient on a larger scale. Additionally, ensure that the ingredients you select are free from contaminants, pesticides, and other potentially harmful substances. Opting for organic and high-quality sources is a prudent choice. sometimes your tattoo ink dirty your cloth. now you can easily remove tattoo ink from carpet
Pros and cons of different ingredient options
The selection of ingredients for homemade tattoo ink presents a range of options, each with its own advantages and drawbacks. Natural ingredients offer an eco-friendly and potentially biocompatible alternative to synthetic pigments found in professional tattoo inks. They allow for greater customization and experimentation, enabling artists to create unique hues. However, natural ingredients may be less stable and have shorter longevity compared to professional tattoo inks. It’s essential to consider factors such as colour vibrancy, lightfastness, and the potential for ingredient degradation over time. and what are the side effects oof expire ink
how to make homemade coloured tattoo ink
Creating your own homemade coloured tattoo ink opens up a world of artistic possibilities and allows for unique self-expression. Let’s delve into three exciting recipes that will guide you in how to make homemade coloured tattoo ink.
Recipe 1: Charcoal-Based Black Ink
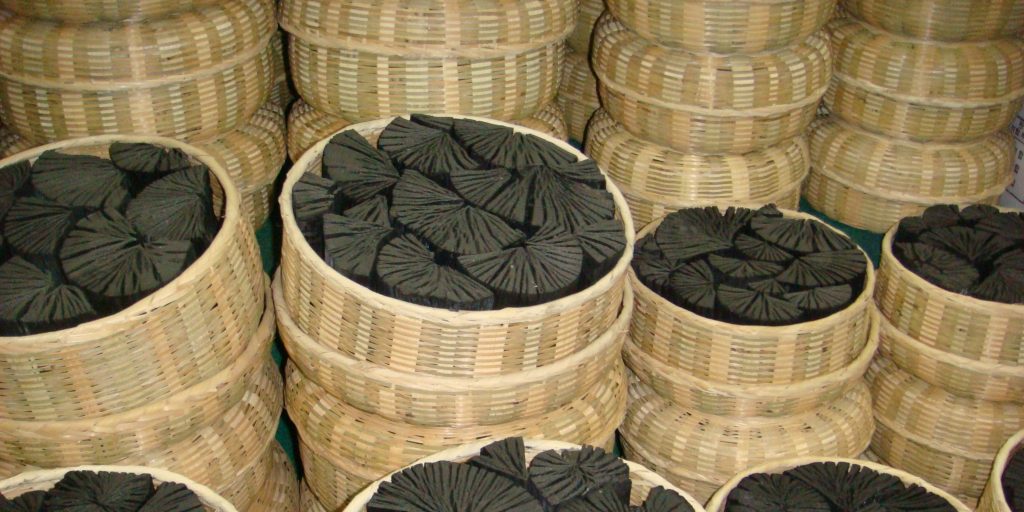
Step-by-step instructions
- Begin by gathering the following ingredients: activated charcoal powder, distilled water, and a small glass or ceramic container.
- In the container, combine a small amount of activated charcoal powder with a few drops of distilled water.
- Mix the ingredients thoroughly until you achieve a smooth and consistent paste.
- Adjust the consistency by adding more distilled water or charcoal powder as needed, aiming for a thick yet spreadable ink.
Tips for achieving desired consistency
- Gradually add water to the charcoal powder to avoid creating runny ink.
- Thoroughly mix the ingredients to prevent clumps and ensure a uniform texture.
- Test the ink’s consistency on a small patch of skin before tattooing to ensure it spreads easily and adheres well.
Precautions when working with charcoal
- Charcoal powder can be messy, so take care to protect your working area with newspaper or a plastic sheet.
- Avoid inhaling the charcoal powder, as it can be irritating to the respiratory system. Consider wearing a mask while handling it.
- Ensure the charcoal powder you use is free from contaminants and additives.
Recipe 2: Vegetable-Based Colored Ink
Exploring natural colour sources
Nature offers a rich palette of colours that can be extracted from various vegetables. Consider using ingredients such as beets, carrots, spinach, or cabbage to create vibrant and unique shades for your homemade ink.
Methods for extracting colour from vegetables
- Choose your desired vegetable and wash it thoroughly.
- Grate or finely chop the vegetable to increase the surface area for extraction.
- Place the vegetable in a pot with enough water to cover it completely.
- Simmer the mixture on low heat for approximately 30 minutes, allowing the colour to infuse into the water.
- Strain the liquid through a fine mesh sieve or cheesecloth to remove any solid particles, obtaining the vegetable-based colour solution.
Mixing and dilution techniques for desired shades
- Experiment with different vegetable combinations to achieve a wide range of colours.
- Dilute the vegetable-based colour solution with distilled water to adjust the intensity of the ink. Start with small increments and test the colour on your desired medium until you achieve the desired shade.
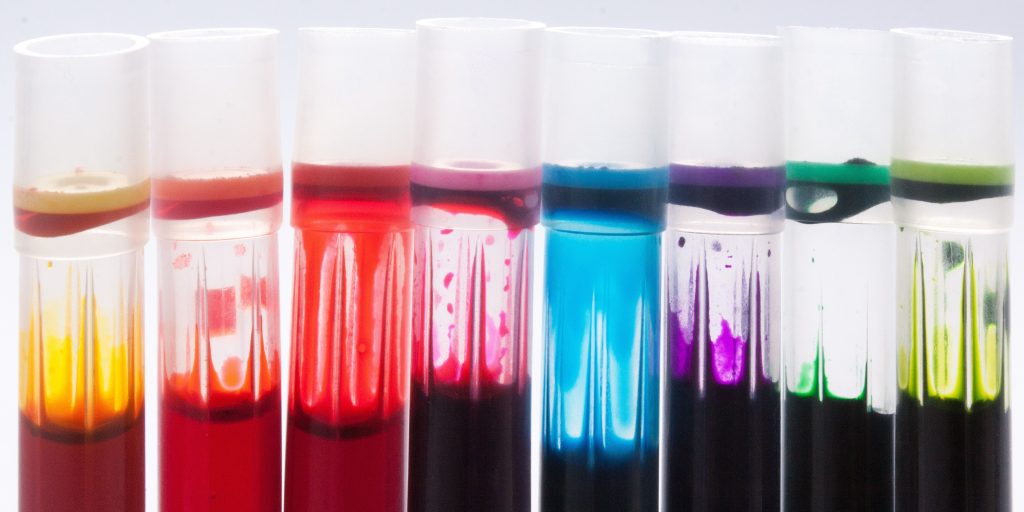
Recipe 3: Alcohol-Based Colored Ink
Types of alcohol suitable for ink making
When creating alcohol-based coloured ink, it’s important to choose the right type of alcohol. Isopropyl alcohol, also known as rubbing alcohol, is commonly used due to its solubility and ability to mix well with pigments. Ensure you use high-quality, pure alcohol without any added fragrances or oils.
Incorporating pigments into alcohol
- Select your desired pigments, such as cosmetic-grade mica powders or powdered dyes, and prepare them in separate containers.
- Gradually add small amounts of the chosen pigment to the alcohol, stirring well after each addition.
- Continue adding and stirring until you achieve the desired saturation and colour intensity.
Adjusting pigment concentration for desired saturation
- If the ink appears too light, add more pigment gradually until you achieve the desired saturation.
- For a more translucent effect, add small amounts of alcohol to dilute the pigment concentration.
Sterilization and Safety Precautions
When embarking on the journey of how to make homemade coloured tattoo ink, it is crucial to prioritize sterilization and safety precautions. Maintaining a clean and sterile environment is paramount to ensure the health and well-being of both the artist and the recipient of the tattoo. Let’s explore the essential aspects of sterilization and safety when working with homemade tattoo ink.
Importance of sterilizing equipment and containers
Sterilizing your equipment and containers is critical to eliminate any potential bacteria, viruses, or other harmful microorganisms that can contaminate your homemade ink. By sterilizing your tools, you create a hygienic environment that reduces the risk of infections and adverse reactions. Ensure that all equipment and containers, including mixing tools, measuring instruments, and ink bottles, are thoroughly cleaned and sterilized before use.
Recommended methods for sterilization
- Autoclaving: Autoclaving is the most effective method of sterilization, utilizing high-pressure steam to kill microorganisms. However, it requires specialized equipment and should only be done if you have access to an autoclave.
- Boiling: Boiling your equipment and containers in water for at least 20 minutes can help eliminate most microorganisms. Ensure that all items are fully submerged and that the water reaches a rolling boil.
- Chemical sterilization: Chemical solutions, such as bleach or hydrogen peroxide, can be used to disinfect your equipment. Follow the manufacturer’s instructions for proper dilution and contact time.
Handling and storing homemade ink safely
Proper handling and storage of your homemade ink are essential to maintain its quality and minimize the risk of contamination. Here are some key considerations:
- Use clean and disposable gloves when working with your homemade ink to prevent the transfer of bacteria from your hands.
- Avoid touching the tips of ink bottles or any other surfaces that may come into contact with the tattoo needle.
- Store your homemade ink in clean, airtight containers to prevent bacterial growth and maintain its integrity. Label the containers with the date and colour for easy identification.
- Keep your ink in a cool and dark place, away from direct sunlight or extreme temperature fluctuations, which can degrade the ink’s quality.
Testing and Adjusting Homemade Ink
Once you’ve created your homemade coloured tattoo ink, it’s important to conduct thorough testing and make adjustments to ensure optimal results. Let’s explore the key steps involved in testing and adjusting your homemade ink to achieve the desired outcome in your tattooing process.
Conducting patch tests on skin
Before applying your homemade ink to a larger area, it is crucial to perform patch tests on a small area of skin. Apply a small amount of the ink to the inner forearm or another suitable area and observe any reactions over a period of 24 to 48 hours. This helps identify any potential allergic reactions or sensitivities to the ink.
Evaluating ink’s colour, consistency, and stability
During the testing phase, it’s important to assess the ink’s colour, consistency, and stability. Observe the hue of the ink under different lighting conditions to ensure it matches your desired shade. Evaluate the consistency by testing the ink’s flow and spreadability. Additionally, monitor the stability of the ink over time, looking for signs of separation or degradation.
Adjusting recipes for improved results
If you find that your homemade ink requires adjustments, there are several avenues to explore:
- Colour adjustment: To modify the colour, consider adding small amounts of other pigments or adjusting the concentration of the existing pigments. Gradually introduce changes until you achieve the desired shade.
- Consistency adjustment: If the ink is too thick or too thin, you can adjust the consistency by adding more distilled water or pigment, respectively. Make small adjustments and test the ink’s flow until it reaches the desired consistency.
- Stability improvement: If you notice stability issues with your ink, such as the separation or settling of pigments, consider adding a suitable binder or stabilizer. Research appropriate additives and carefully follow recommended guidelines for incorporating them into your ink.
Tips for Tattooing with Homemade Ink
When using homemade ink for tattooing, it’s important to follow proper techniques and take appropriate measures to ensure a successful and safe tattooing experience. Here are some essential tips to keep in mind:
Ensuring proper tattooing technique
- Hygiene: Maintain a clean working environment and follow strict hygiene practices. Wash your hands thoroughly before and during the tattooing process. Wear disposable gloves and change them if they become contaminated or torn.
- Sterilization: Sterilize all tattooing equipment, including needles, tubes, and grips, using appropriate methods such as autoclaving or chemical sterilization. Ensure all equipment is properly cleaned and free from any contaminants.
- Needle selection: Choose the appropriate needle size and configuration for the desired tattoo design and technique. Ensure that the needles are sterile and individually packaged.
- Technique: Use proper tattooing techniques, such as maintaining a consistent depth of needle penetration, maintaining a steady hand, and applying even pressure. Practice proper stretching of the skin to ensure smooth and precise lines.
Preparing the skin before tattooing
- Cleaning: Thoroughly clean the skin area to be tattooed with an alcohol swab or mild antiseptic soap. Remove any dirt, oil, or residue to ensure better ink absorption and minimize the risk of infection.
- Shaving: If necessary, shave the area to be tattooed to ensure a smooth surface. Shave in the direction of hair growth and clean the area again to remove any loose hair.
- Stencil application: Transfer the stencil of the tattoo design onto the prepared skin area using a stencil transfer gel or stencil paper. Ensure the placement and alignment of the stencil are accurate before proceeding.
Aftercare instructions for homemade ink tattoos
- Cleaning: After tattooing, gently clean the tattooed area with mild, fragrance-free soap and lukewarm water. Pat dry with a clean, soft towel.
- Moisturizing: Apply a thin layer of tattoo-friendly moisturizer or aftercare ointment to keep the skin hydrated and promote proper healing. Avoid petroleum-based products.
- Protection: Avoid exposing the fresh tattoo to direct sunlight, swimming pools, hot tubs, or excessive sweating for at least a couple of weeks. Wear loose, breathable clothing that doesn’t rub against the tattooed area.
- Avoid picking or scratching: Refrain from picking, scratching, or peeling off any scabs that form during the healing process. This can lead to scarring and affect the final appearance of the tattoo.
- Follow-up care: Follow any additional aftercare instructions provided by your tattoo artist and consult a professional if you experience any unusual symptoms, such as excessive pain, redness, swelling, or signs of infection.
Conclusion
Homemade tattoo ink offers the opportunity for artistic expression, customization, and experimentation. However, it is vital to prioritize safety, adhere to sterilization practices, and conduct patch tests before tattooing. Embrace the benefits of homemade ink while exercising caution, and let your creativity soar on the canvas of skin.


