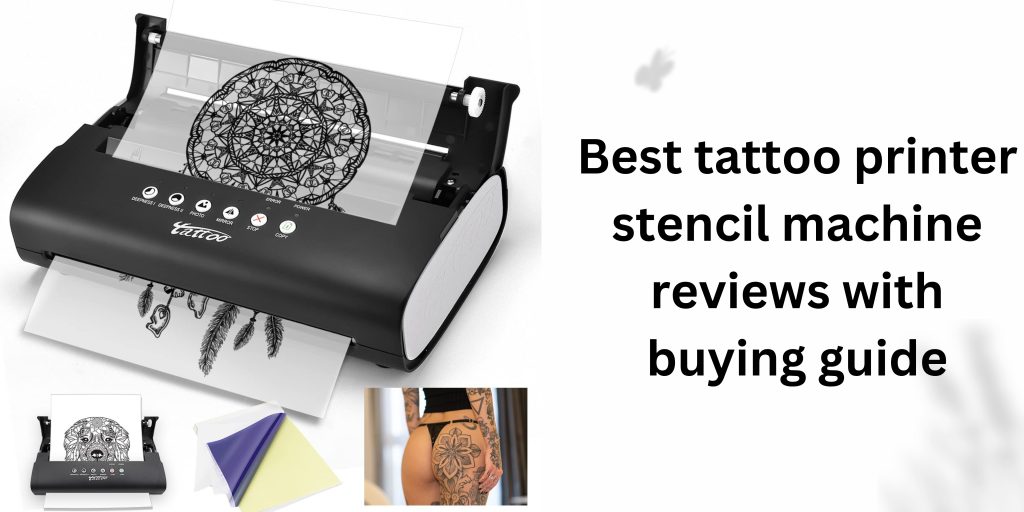
Tattoo transfer paper is an essential tool in the tattoo artist’s arsenal, allowing for precise and accurate transfer of designs onto the skin. However, for those who are new to the process, it can be intimidating to know where to begin. In this guide, we’ll provide a step-by-step tutorial on how to use a tattoo transfer paper, from selecting the right image to completing the tattooing process. Whether you’re a seasoned tattoo artist or just starting out, this guide will help you master the art of transferring designs onto your skin with ease and confidence.
Guide on how to use tattoo transfer paper
Materials needed:
- Tattoo transfer paper
- Image to be transferred
- Thermal copier or printer
- Razor or stencil pen
- Alcohol wipes
- Tattoo machine and ink
- Skin surface to be tattooed
Steps:
- Choose an image you want to transfer onto the skin. This can be a hand-drawn design or a printed image.
- Print or draw the image onto the transfer paper using a thermal copier or printer. Be sure to mirror the image so that it will be oriented correctly when applied to the skin.
- Prepare the skin surface where the tattoo will be placed by cleaning it with alcohol wipes. This will remove any dirt, oil, or bacteria that could affect the transfer.
- Cut out the image from the transfer paper with a razor or stencil pen. Leave a border of about 1/4 inch around the image to prevent smudging.
- Peel off the protective layer from the transfer paper, exposing the ink side.
- Place the transfer paper onto the prepared skin surface, ink side down. Use a ruler or other straight edge to ensure the design is level and straight.
- Apply pressure to the transfer paper with a damp cloth or sponge. This will help the ink transfer from the paper onto the skin.
- Gently lift one corner of the transfer paper to check the transfer. If the transfer is incomplete, reapply the pressure and check again.
- Carefully remove the transfer paper from the skin surface. The transferred image should be visible on the skin.
- Use a tattoo machine and ink to trace over the transferred image, creating the tattoo.
- Once the tattoo is complete, clean the area with alcohol wipes and apply a thin layer of tattoo ointment.
Editor Choice


