If you’re an aspiring tattoo artist or a seasoned pro looking to enhance your tattooing skills, one crucial aspect to master in how to tune a rotary tattoo machine. Properly tuning your machine can make a world of difference in the quality and precision of your work. In this comprehensive guide, we will walk you through every step of the process, providing detailed instructions and valuable tips and tricks along the way.
Tools You’ll Need
Before you begin tuning your rotary tattoo machine, gather the necessary tools and equipment. Here’s what you’ll need:
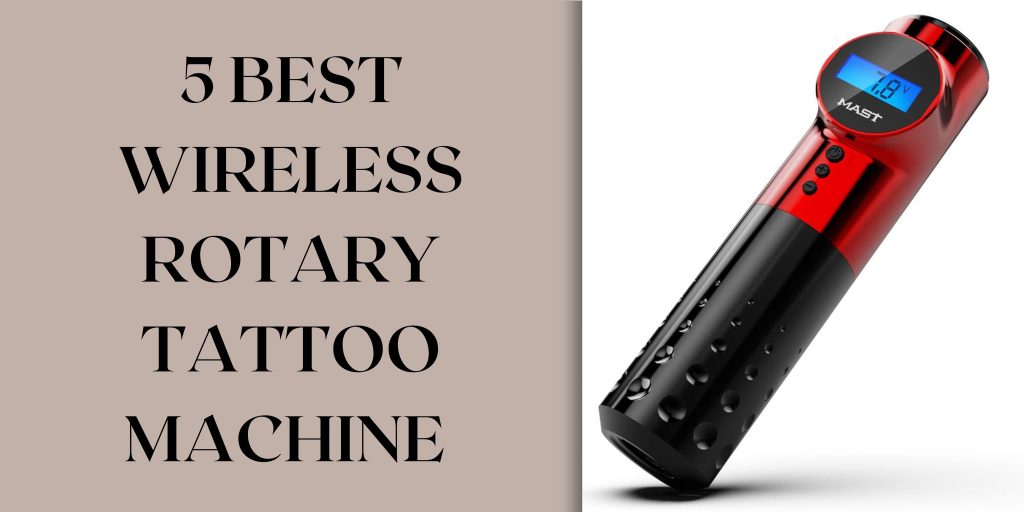
1. Rotary Tattoo Machine
- Your tattoo machine is, of course, the most critical tool. Ensure it’s clean and in good working condition.
2. Allen Wrenches
- You’ll need these to adjust and fine-tune various parts of your machine.
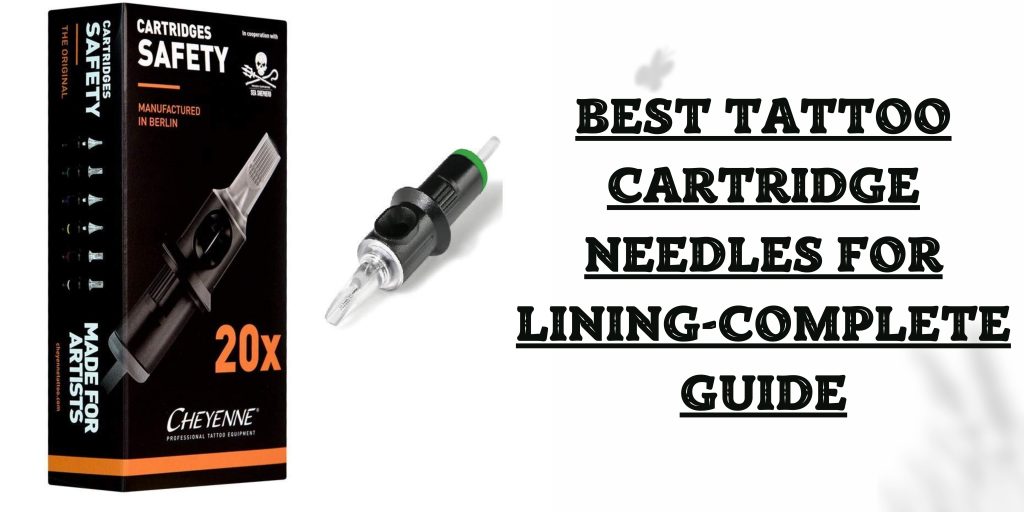
3. Tattoo Needles
- Make sure you have a selection of different needle configurations to choose from, depending on your tattoo design.
4. Rubber Bands
- Rubber bands are used to provide tension on the needle bar, controlling the depth of the needle’s penetration.
5. Power Supply and Clip Cord
- Ensure your power supply is working correctly, and you have a clip cord to connect your machine.
6. Ink and Pigments
- Have a variety of inks and pigments ready for your tattoo session.
Step-by-step process of tuning your rotary tattoo machine

Step 1: Assemble Your Machine
Begin by assembling your rotary tattoo machine according to the manufacturer’s instructions. Ensure that all components are securely in place, including the grip, tube, and needle. Tighten any loose parts with the Allen wrenches if necessary.
Step 2: Connect the Power Supply
Connect the clip cord from your tattoo machine to the power supply. Make sure the power supply is set to the appropriate voltage for your machine and tattooing style. Consult your machine’s manual for voltage recommendations.
Step 3: Adjust Needle Depth
Proper needle depth is crucial for achieving the desired tattoo effect. Use the rubber bands to adjust the needle’s depth. More tension on the rubber bands will result in a shallower penetration, while less tension will allow for a deeper needle placement. Experiment and test on practice skin or fruit to find the ideal depth for your tattoo.
Step 4: Test the Machine
Before you start tattooing on a client, it’s essential to test your machine’s performance. Tattoo on a practice surface to ensure that the needle moves smoothly and consistently. Pay attention to any unusual sounds or vibrations, which could indicate issues that need addressing.
Step 5: Fine-Tune Speed and Stroke Length
Now, let’s fine-tune the speed and stroke length of your rotary tattoo machine. These adjustments can greatly impact the quality of your work.
Speed Adjustment
Rotary machines typically have a knob or dial to control the speed of the motor. Start with a lower speed setting and gradually increase it until you find the speed that works best for your tattooing style and design. Faster speeds are suitable for fine lines and details, while slower speeds are better for shading and colouring.
Stroke Length Adjustment
The stroke length determines how far the needle travels with each cycle. Most rotary machines allow you to adjust this feature as well. Experiment with different stroke lengths to see what provides the best control and precision for your specific tattoo.
Step 6: Check Needle Alignment
Proper needle alignment is critical to avoid any uneven or jagged lines in your tattoo. Make sure the needle is securely in place and perfectly centred within the tube. If it’s off-centre, use the Allen wrenches to adjust it until it’s aligned correctly.
Step 7: Sterilize Your Equipment
Before you start tattooing, it’s essential to sterilize all your equipment, including the machine, needles, grips, and tubes. Maintaining a sterile environment is crucial to prevent infections and ensure the safety of your clients.
Step 8: Begin Tattooing
Now that your rotary tattoo machine is finely tuned and your equipment is sterilized, you’re ready to begin tattooing. Start with a clean, well-prepared skin surface and follow your design carefully. Pay attention to the pressure you apply and the speed of your hand movements to achieve the desired results.
Read More: best tattoo chairs for clients
Tips and Tricks for Tuning Success
Tuning a rotary tattoo machine is a skill that takes practice to master. Here are some additional tips and tricks to help you along the way:
1. Keep Spare Parts on Hand
It’s a good idea to have spare parts, such as grips, tubes, and needles, readily available. This ensures that you can quickly replace any worn or damaged components during a tattoo session.
2. Regular Maintenance
Perform routine maintenance on your rotary tattoo machine to keep it in top condition. Clean the machine after each use, lubricate moving parts, and inspect for any signs of wear or damage.
3. Seek Feedback
Don’t hesitate to seek feedback from experienced tattoo artists or mentors. They can provide valuable insights into your tuning technique and help you improve.
4. Practice, Practice, Practice
Tattooing is an art, and like any art form, it requires practice to excel. Spend time honing your skills and experimenting with different tuning settings to find what works best for you.
5. Be Patient
Tuning a rotary tattoo machine can be a time-consuming process, especially when you’re learning. Be patient with yourself and don’t rush through the tuning process. Precision is key to achieving the best results.
How To Tune A Rotary Tattoo Machine Conclusion
Tuning a rotary tattoo machine is an essential skill for any tattoo artist. By following the step-by-step guide and incorporating the tips and tricks provided, you can fine-tune your machine to perfection. Remember that practice makes perfect, so dedicate time to honing your skills and experimenting with different settings. With dedication and attention to detail, you’ll be on your way to creating stunning tattoos that leave a lasting impression.

